반갑습니다 집주인 Kyxxn 박효준입니당
이번에는 CollectionView에서 Cell들 간의 Drag & Drop을 구현해볼 건데요,
델리게이트들을 어떻게 사용했고 어떤 특성이 있는지 알아봅시당
문제 상황
컬렉션 뷰의 셀들을 드래그 앤 드랍해야 할 일이 생겨서
이에 대한 공부를 하고 정리해보려 한다 !
문제 해결
주요 메소드
우리는 아래의 두 델리게이트 프로토콜을 사용할 것이고,
델리게이트에서 총 3개의 메소드를 사용하여 드래그 앤 드랍을 구현할 거다.
- UICollectionViewDragDelegate
- UICollectionViewDropDelegate
시작: collectionView(_:itemsForBeginning:at:)
먼저 Drag 델리게이트의 메소드이다.
처음 드래그가 시작될 때 호출되는 메소드로 말 그대로 “드래그”를 시작할 때 동작한다.
중간: collectionView(_:dropSessionDidUpdate:withDestinationIndexPath:)
Drop 델리게이트의 메소드이다.
드래그 동작 중에 호출되는 메소드로 드래그가 잘 되고 있는지 등에 대한 유효성 검사?를 할 수 있다.
끝: `collectionView(_:performDropWith:)`
Drop 델리게이트의 메소드이다.
해당 메소드는 Drag를 마치고 Drop이 발생했을 때 호출된다.
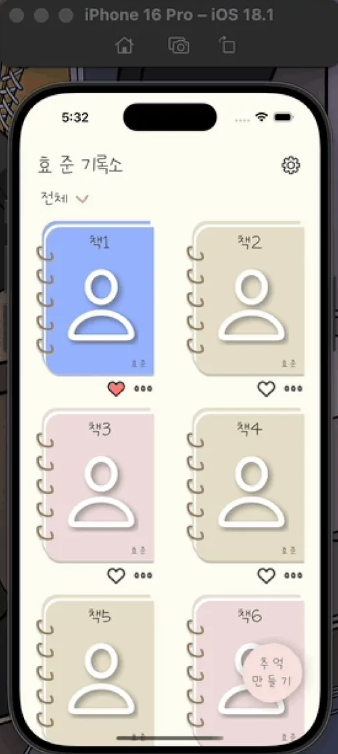
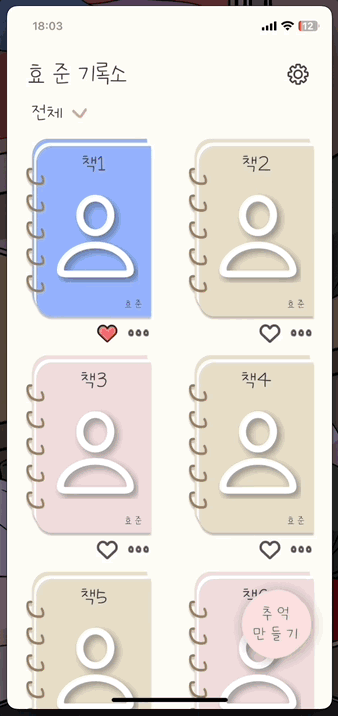
우리 프로젝트에 적용해보기
이 책 4권을 드래그 앤 드랍으로 이리저리 움직여서 위치를 옮겨봅시다.
1. 드래그 준비
extension HomeViewController: UICollectionViewDragDelegate {
    public func collectionView(
        _ collectionView: UICollectionView,
        itemsForBeginning session: any UIDragSession,
        at indexPath: IndexPath
    ) -> [UIDragItem] {
        let dragItem = UIDragItem(itemProvider: NSItemProvider())
        return [dragItem]
    }
}
Drag 델리게이트를 채택하고 itemsForBeginning 메소드를 구현한다.
UIDragItem을 배열에 담아서 보내주는데, 이는 다른 앱과 상호작용할 때도 쓰일 수 있다고 함..!
그래서 아래처럼 사용 가능하다. 아마 사진 앱도 얘를 사용한 게 아닐까 ?
2. 드래그 중
extension HomeViewController: UICollectionViewDropDelegate {
    public func collectionView(
        _ collectionView: UICollectionView,
        dropSessionDidUpdate session: UIDropSession,
        withDestinationIndexPath destinationIndexPath: IndexPath?
    ) -> UICollectionViewDropProposal {
        guard collectionView.hasActiveDrag else { return UICollectionViewDropProposal(operation: .forbidden) }
        return UICollectionViewDropProposal(operation: .move, intent: .insertAtDestinationIndexPath)
    }
드래그 중에는 유효성 검증을 한다.
collectionView.hasActiveDrag을 통해서 컬렉션 뷰가 드래그 중이면 operation 을 move로 주고,
그렇지 않으면 forbidden으로 준다. forbidden으로 처리되면 드래그를 하고 드랍을 했을 때 아무일도 발생하지 않음
이외에도 Cancel, copy가 있다
3. 드래그 끝, 드랍 시점
public func collectionView(
    _ collectionView: UICollectionView,
    performDropWith coordinator: UICollectionViewDropCoordinator
) {
    var destinationIndexPath: IndexPath
    if let indexPath = coordinator.destinationIndexPath {
        destinationIndexPath = indexPath
    } else {
        let row = collectionView.numberOfItems(inSection: 0)
        destinationIndexPath = IndexPath(item: row - 1, section: 0)
    }

    moveItems(
        coordinator: coordinator,
        destinationIndexPath: destinationIndexPath,
        collectionView: collectionView
    )
}

private func moveItems(
    coordinator: UICollectionViewDropCoordinator,
    destinationIndexPath: IndexPath,
    collectionView: UICollectionView
) {
    guard
        coordinator.proposal.operation == .move,
        let item = coordinator.items.first,
        let sourceIndexPath = item.sourceIndexPath
    else { return }

    collectionView.performBatchUpdates { [weak self] in
        guard let self else { return }
        input.send(
            .dragAndDropBookCover(
                currentIndex: sourceIndexPath.item,
                destinationIndex: destinationIndexPath.item
            )
        )

        collectionView.deleteItems(at: [sourceIndexPath])
        collectionView.insertItems(at: [destinationIndexPath])
    }
}
드래그가 끝나면 내가 놓은 셀의 위치 destinationIndexPath 를 받아서 해당 위치로 옮겨 주면 된다.
이를 구현하기 위해서 remove로 현재 자신의 위치를 제거한다. 그러면 이때 자신을 기준으로 뒤에있던 요소들은 한 칸씩 앞으로 땡겨질 거고,
destinationIndexPath을 통해서 insert를 해주면 원하는 대로 결과를 받을 수 있다.
나는 이때, viewModel에게 input을 보내어 처리를 하게 하였고, collectionView의 Item 또한 삭제와 삽입을 해주어 처리하였다.
배운 점
- 아래 두 델리게이트 메소드들 덕에 쉽게 드래그 앤 드랍을 구현할 수 있어따
- UICollectionViewDragDelegate
- UICollectionViewDropDelegate
참조 링크
https://mini-min-dev.tistory.com/235
'UIKit' 카테고리의 다른 글
| 무지성 MainActor를 붙인 상황에서 데이터가 로드되기 전에 뷰가 그려지는 문제 해결 (0) | 2024.12.02 |
|---|---|
| 뷰 그리는 방식에 대한 논의(Factory vs MH커스텀 vs VC에서 설정) (0) | 2024.12.02 |
| CALayer를 사용할 때 발생하는 메모리 크래시 (0) | 2024.11.29 |
| 런타임 시점에 Constraint를 조절하여 애니메이션 구현하기 (1) | 2024.11.19 |
| iOS 15.0 이상에서 UIButton 안에 있는 이미지 사이즈 조절하기 (1) | 2024.11.18 |